
Home / Weed / New Lock Installation in Weed
Weed installation
New Lock Installation in Weed: Door Prep, Strikes, and Alignment
A new lock is only as good as the door and frame around it. This page explains the details of a proper installation in Weed, from the first measurement to the last test of the bolt.
Weed installation
The lock you notice is the smallest part of the job
Imagine an angler or hiker walking back to a trailhead at dusk, boots damp, headlamp not yet on, thinking about dinner. At the end of that walk is a door, either a cabin door or a front door at home, and that door has a lock. If everything is right, the key slides in, the bolt turns with a clean throw, and the door swings shut with a satisfying thunk. Nobody thinks about it. That calm is what a good installation delivers, and it is the reason the details in this page are worth the read.
Most of the work behind that calm is invisible. A new lock is not just a product taken out of a box and screwed on. It is a set of parts that must fit a door that may be decades old, in a frame that has moved a little over the years, in a climate that swells and shrinks wood with every season. The lock is the visible part. The prep is where the real craft lives.
This page walks through what a proper installation involves, so you know what to expect and what to ask. Whether you are adding a deadbolt where none existed, replacing a worn knob, or upgrading a door for a new use, the same principles apply. If you want the service overview first, see our new lock installation page.
Choosing the lock before touching the door
Installation starts with a decision. Which lock suits this door? A front door usually wants a deadbolt plus a knob or lever set. A back door may want the same. A garage entry door often wants a deadbolt for the reason that it faces the inside of the house. A cabin or outbuilding may need something sturdier against weather and neglect, or something that can be locked from the outside without a key if you carry a lot of gear.
Door material matters. Wood, steel, and fiberglass all accept hardware differently, and our neighbor guide on how locks fit metal, wood, and fiberglass doors covers the practical differences. The thickness of the door also matters, since most hardware is designed for a standard range and anything outside it needs the right accessories.
Grade matters as well. Locks are graded by how much abuse they are built to take, and our guide on what lock grade means explains it in plain terms. A locksmith can recommend a grade that suits how the door is used. You do not need the most heavy duty lock for an interior closet, but you want something solid on your main entrance.
Reading the door: what is already there
Before drilling anything, the installer inspects the door. Is the surface flat and sound? Is the edge clean and straight? Are there old holes from previous hardware that must be dealt with? Is the door swelling or sagging? A door that has sagged on its hinges will fight any new lock, and even a very good lock cannot fix a door that no longer closes square.
This is the place where installation overlaps with adjustment. If hinges are loose, screws are stripped, or the door rubs the frame, those problems need attention first. Our guide on why doors sag and what it does to locks explains the cause and effect. Skipping that step leads to a new lock that jams not long after.
The installer also checks the hole pattern in the door. Most residential doors use two standard holes: a large one through the face for the lock body, and a smaller one through the edge for the latch or bolt. If the holes already exist and match the new hardware, installation is simple. If they do not, the door must be prepared with a template and the right bits.
Door prep: measuring twice and boring once
Door preparation is the part where tools earn their keep. A template is taped to the door to mark the center of the large hole and the edge hole. The height is chosen to match the existing hardware or standard practice, and the backset, the distance from the door edge to the center of the hole, is checked to make sure the lock will fit. Two common backsets exist, and using the wrong one is a classic mistake.
Holes are cut with a hole saw and an edge bit, usually with a guide that keeps them square. The goal is a hole that is clean and snug, not ragged or oversized. On steel and fiberglass doors the technique differs from wood, and some doors have reinforced edges that need particular care. An edge that splinters or a face that cracks cannot be undone, so this step rewards patience.
Next comes the mortise for the latch plate on the door edge. A shallow recess is chiseled or routed so the plate sits flush with the surface. A plate left proud of the edge will catch on the frame, and one cut too deep will wobble. It is a small detail that separates a tidy installation from a sloppy one, and it is easy to see when you know where to look. Run a fingertip across the edge of a finished door and you can feel whether the plate sits flush or catches.
- Mark hole centers with a template, not by eye.
- Confirm the backset before cutting.
- Cut the face hole and the edge hole square to the door.
- Recess the latch plate until it sits flush with the edge.
- Clean away sawdust and shavings before inserting the hardware.
Installing the lock body, latch, and bolt
With the holes ready, the lock body goes in. For a deadbolt, the cylinder goes on the outside and the thumb turn on the inside, joined by a small tailpiece that passes through the bolt mechanism. The two halves are held together with screws that pass through the door. These screws should be snug but not crushed, because overtightening can bind the mechanism and make the key feel stiff.
The latch or bolt slides into the edge hole and is held by its plate. Before final tightening, the installer operates the mechanism with the door open, turning the key and the thumb turn and watching the bolt extend and retract. This is a simple test with a big payoff. If the bolt drags or sticks in the open air, it will certainly stick once it meets the frame.
Knobs and levers follow the same pattern. The spindle passes through the latch, the two halves meet in the middle, and the screws draw them together. Levers need a little extra attention because the return spring must work freely; a lever that droops or does not snap back is a sign of misalignment or overtightening. Our page on lock repair and adjustment covers how those issues are corrected.
Strike plates: the quiet hero of every lock
On the frame side of the door sits the strike plate, a small metal plate with a hole for the latch and another for the deadbolt. It looks like an afterthought. In truth, it is one of the most important parts of the whole assembly. The strike is where the lock actually meets the building, and a weak or misplaced strike can undo the strength of a very good lock.
A proper installation positions the strike so the latch and bolt line up exactly with their holes. The mortise in the frame is cut to hold the plate flush, and the holes behind it are deep enough for the bolt to extend fully. Long screws are used, ones that pass through the thin trim and bite into the solid framing behind. This is a detail worth asking about, and our neighbor guide on what makes a good strike plate explains why.
In some cases a reinforced strike or a longer plate is recommended, especially on doors that face the street or the yard. It adds strength and is a modest addition to the work. Think of the strike as the handshake between the lock and the building: the strongest hardware still needs a firm grip on the other side. Ask the installer what they suggest for your door, and why. A good answer will refer to the frame, the way the door is used, and what is behind the trim.
Alignment: the difference between smooth and stubborn
Alignment is the quiet test of every installation. The latch should enter its hole without the door being lifted, pushed, or pulled. The bolt should extend fully into its hole with no scraping. When the door closes, there should be an even gap around the edges, and the latch should click without a fight. If you can feel resistance, something is off by a tiny fraction of an inch, and that small error is enough to cause frustration.
Misalignment has several causes. The strike may be placed slightly too high or low. The hinges may have loosened. The door may have swollen with moisture or shrunk with dry air. In Weed's climate, with cold winters and dry, windy seasons, doors move through the year, and a lock that is perfect in October can feel different in January.
A good installer allows for this by leaving a little clearance, by checking the door in both open and closed positions, and by testing the lock several times. A few small adjustments, like filing the strike opening slightly or tightening a hinge screw, often make the difference between smooth and stubborn. If you notice changes later, our guide on fixing a door that will not close is a good starting point.
Smart locks and keypads: installation differences
Electronic locks share the same basic installation steps but add a few more. Many fit the existing holes in a door, replacing the deadbolt or lever with a unit that includes a keypad, a motor, and a battery pack. The strike and alignment matter even more, because a motor can only push a bolt so hard, and a bolt that drags will drain batteries and eventually fail.
Before choosing an electronic lock, think about how you will use it. Will you give codes to guests or workers? Will you want a physical key as a backup? How will the lock behave in cold weather, when batteries are weaker? Our neighbor guide on smart locks and who needs one weighs those questions, and our guide on whether smart locks can be rekeyed clears up a common confusion.
If you are leaning toward a keypad for an outbuilding or a shop, you might also read keypad or key for a small shop. Both options have their place, whether it is a key on a ring or a code tapped in with cold fingers, and the right choice depends on who needs access and how often the access list changes.
Final checks and what to keep
Once everything is mounted, the installer runs a full check. Every key is tried, each door position is tested, and the lock is operated many times with the door open and closed. The thumb turn is checked from inside. If the lock includes a handle or lever, it is tested for return and for smooth movement. Any rattles or loose screws are corrected before the visit ends.
Ask for all the keys that belong to the lock, including any extras in the package, and check that they work. Keep the key code or any registration information that came with the lock in a safe place, since it can help with future copies. A short note in your lock map about what was installed, when, and on which door makes future decisions easier.
Finally, ask about maintenance. Most locks need very little, but a gentle cleaning and the right kind of lubricant, used sparingly, extend their life. Our neighbor guide on what lubricant belongs in a lock is worth a read. A well installed lock can serve for a long time, quietly and without complaint.
Installation help in Weed
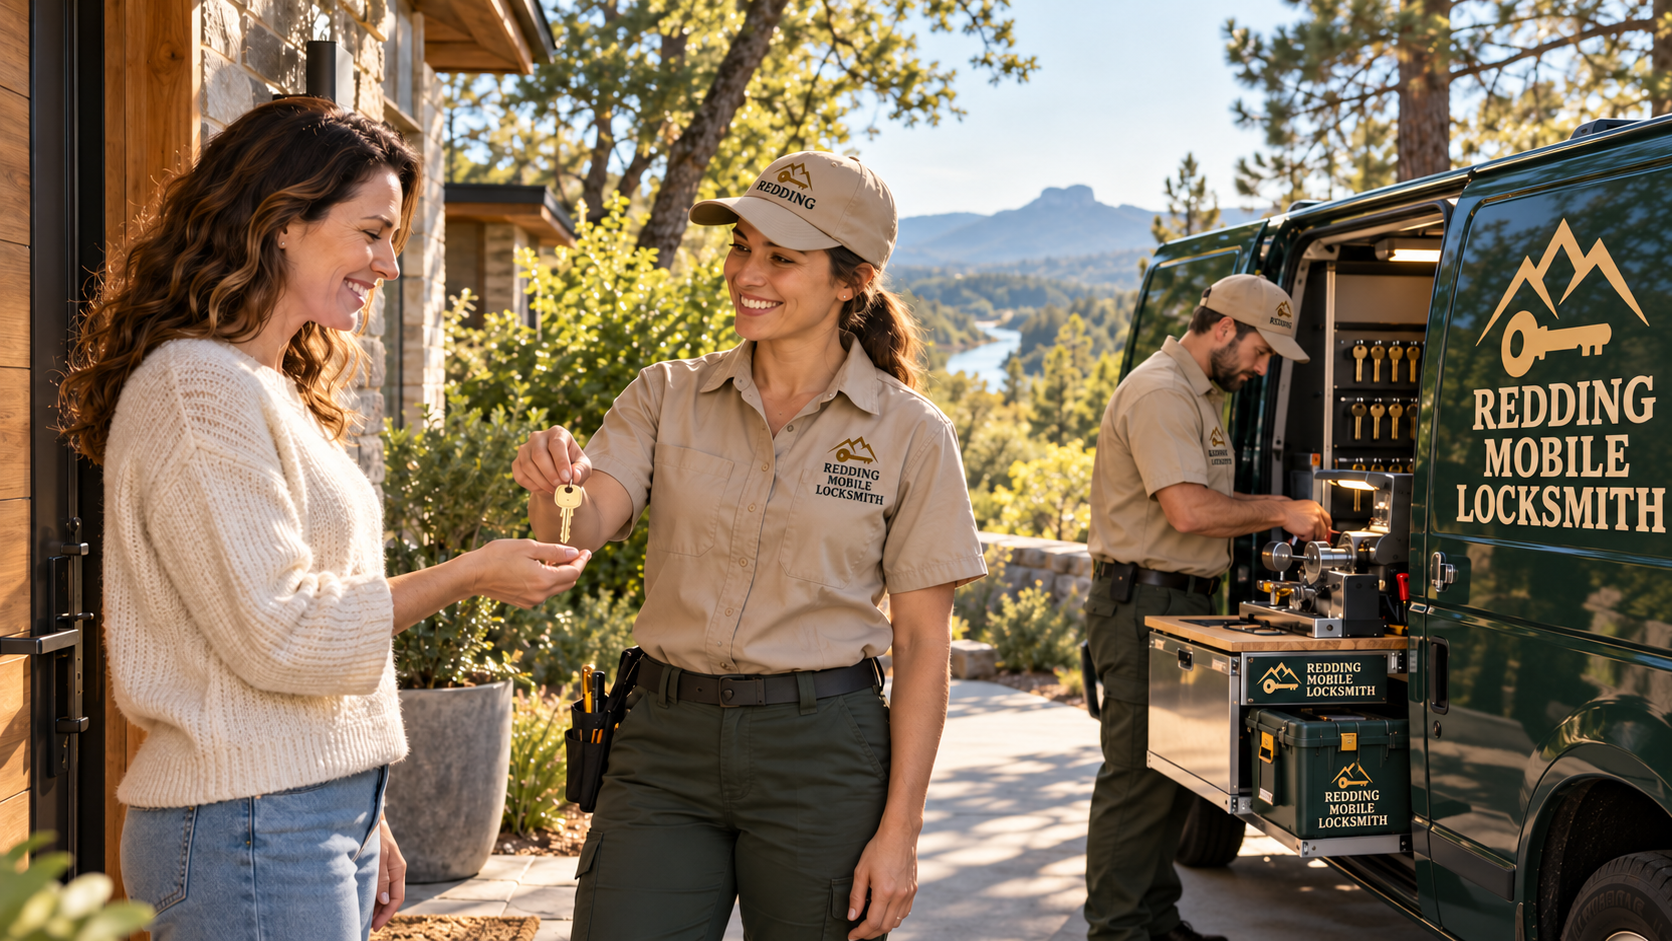
Redding Mobile Locksmith comes to your door in a branded service van that carries professional tools, key cutting and programming equipment, and common hardware. For an installation, that means door prep, lock mounting, strike work, and testing can all happen at the door, which is a good fit for a town like Weed where homes, cabins, and small businesses are spread out.
To describe your project, use the request form on our contact page. Tell us the type of door, the lock you have in mind, and any problems you have noticed. Our phone line is coming soon. If you are not sure which lock suits your door, say that, and the conversation can begin from there.
For more about how we work in this part of Siskiyou County, visit our Weed service area page, and see our home lock walkthrough for Weed if you are still deciding what your house needs. When the work is done, the next evening at the trailhead can end the way it should, with a door that opens easily and closes with confidence.
Good to know
Common questions
Why does a new lock need door prep?
The lock has to fit holes of exact size and position, and the door edge must be recessed so the latch plate sits flush. Without careful prep, the bolt can drag, the key can feel stiff, or the door can crack. Good prep is what makes a new lock work smoothly.
What is a backset and why does it matter?
Backset is the distance from the door edge to the center of the large lock hole. Common residential doors use one of two standard distances. If the lock does not match the door, it will not line up with the frame, so it is checked before any hole is cut.
Do I need a new strike plate with a new lock?
Often it is smart to use a fresh one, and to fasten it with longer screws that reach the solid framing behind the trim. A strike that fits the new latch and bolt precisely helps the lock work smoothly and holds up better if the door is shoved.
Can a sagging door be fixed during installation?
Often, yes. Loose hinges can be tightened, screws replaced, and the strike moved slightly to match the door. A door that is badly warped or damaged may need more than a lock installer can offer, and you would be told so before work begins.
Will a smart lock fit my existing door holes?
Many models are designed to use the standard holes in a typical residential door, but some need extra preparation. Door thickness and the position of the bolt also matter. Share your door details when you contact us so the right parts are on the van.
What should I keep after an installation?
Keep all keys that came with the lock, any code card or registration information, and a short note of what was installed and where. Store them separately from your daily keys. They make future copies, rekeying, and repairs much easier to arrange.